Embroidering hats, whether by hand or with a machine, offers a personalized touch to this wearable accessory. How to embroider hats and caps involves understanding the differences and similarities between these two methods. Hand embroidery allows for a unique, artisanal approach, giving each hat a distinct character through intricate stitches. Machine embroidery, however, offers speed and consistency, perfect for producing multiple items with the same design. Both methods require a keen eye for detail and a steady hand, but they cater to different needs and skill levels.


How To Hand Embroider a Hat
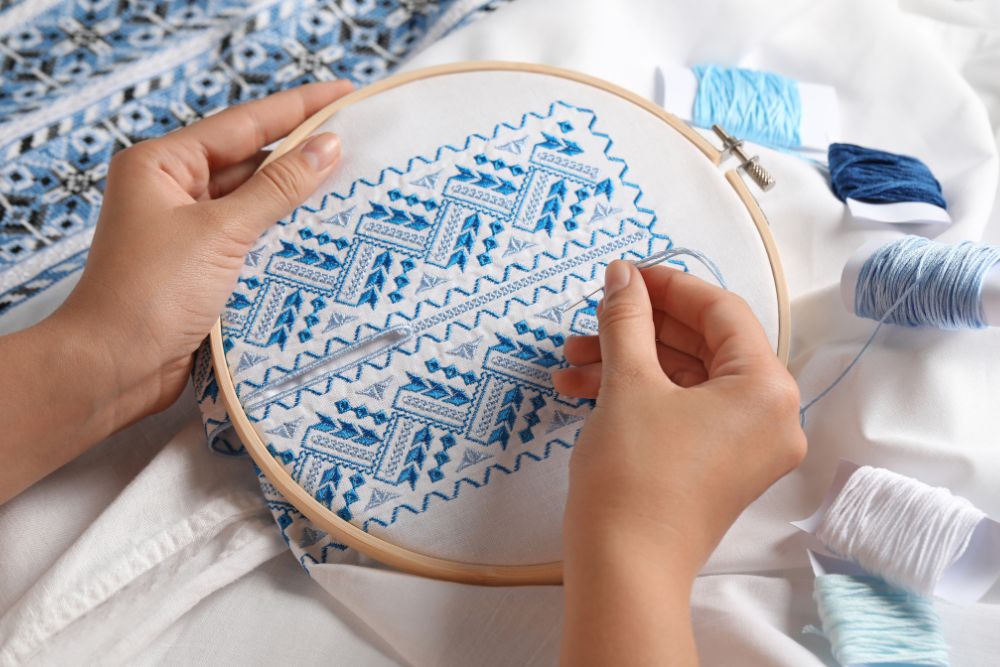
Embroidering a hat by hand is a meticulous process that combines creativity with technique. This method allows for intricate designs on hand embroidery hat and cap, turning each piece into a work of art. Start with selecting the right materials, then sketch your design onto the hat. Familiarize yourself with basic embroidery stitches, apply your design, and follow a step-by-step process to bring your vision to life. Hand-embroidered hats boast a charm and character unmatched by machine embroidery, making them truly one-of-a-kind.
Selecting and Preparing Your Materials
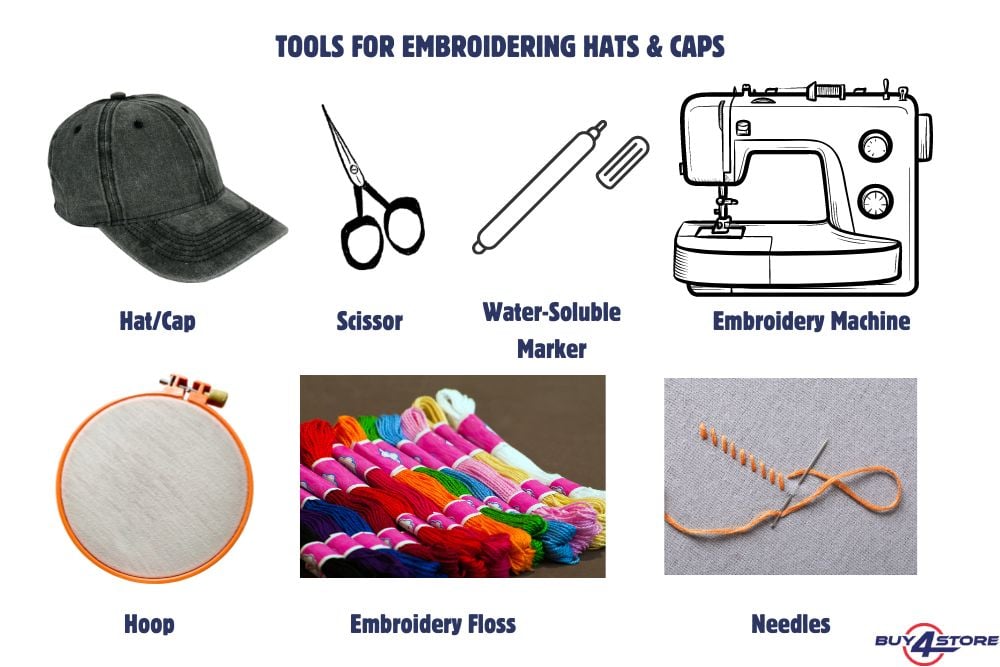
Choosing the right materials is crucial for successful hat embroidery projects. You'll need a sturdy hat, embroidery floss in desired colors, needles, an embroidery hoop, and a water-soluble marker. Prepare your hat by placing it tightly in the hoop to ensure a stable base for embroidery. This preparation is key to achieving precise and beautiful results.
Marking the Embroidery Area on the Hat
Accurately marking the embroidery area ensures your design is perfectly placed. Use a water-soluble marker to lightly sketch your design directly onto the fabric. This step acts as a roadmap, guiding your needle through the intricate details of your artwork.
Basic Embroidery Stitches and Techniques
Understanding basic embroidery stitches and techniques is essential. Master stitches such as the backstitch, satin stitch, and French knot to add texture and depth to your design. These stitches form the foundation of most embroidery projects, allowing you to create a variety of patterns and motifs.
Applying the Embroidery Design
Carefully apply your design, starting with the outline and filling in with colors and textures. This meticulous process involves selecting the appropriate stitch for each part of the design, ensuring a cohesive and attractive finish.
Step-by-Step Embroidery Process
Follow a step-by-step embroidery process, beginning with the most prominent features of your design and working down to the finer details. This methodical approach helps maintain focus and ensures that no element is overlooked.
Finishing the Embroidery and Final Touches
Once your design is complete, remove any marker lines and secure the back of your work by weaving in the thread ends. These final touches ensure your embroidered hat is neat and durable.

How To Machine Embroider a Hat
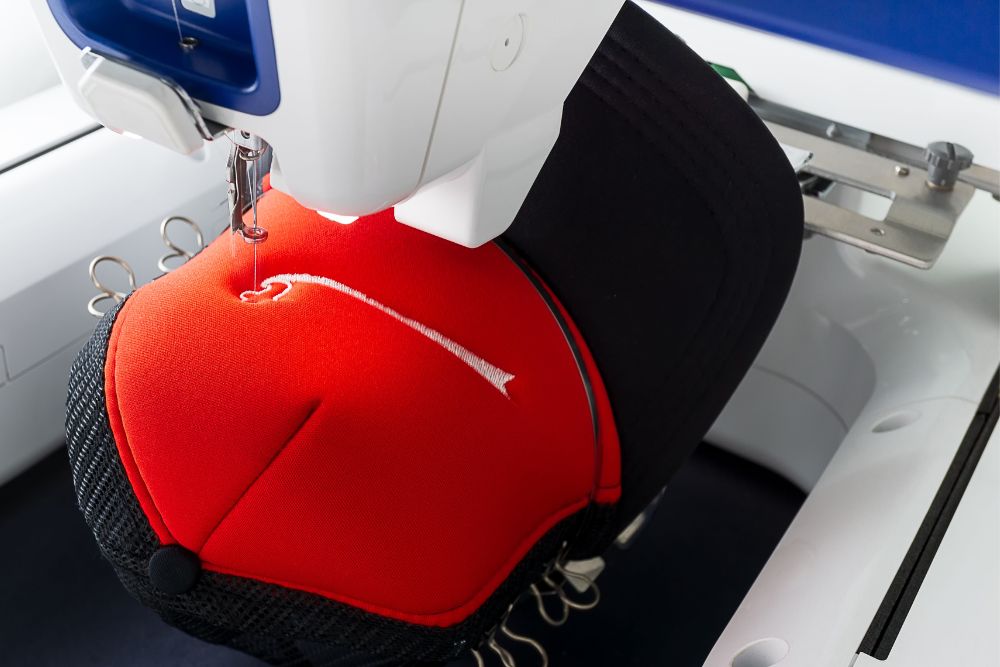
Learning how to embroider a hat with machine opens a world of possibilities for customizing headwear. The process combines technological precision with creative design, allowing for detailed and consistent decorations on caps and hats. Machine embroidery on hats is ideal for creating professional-looking logos, personalized text, or intricate patterns efficiently.
Choosing the Right Embroidery Machine
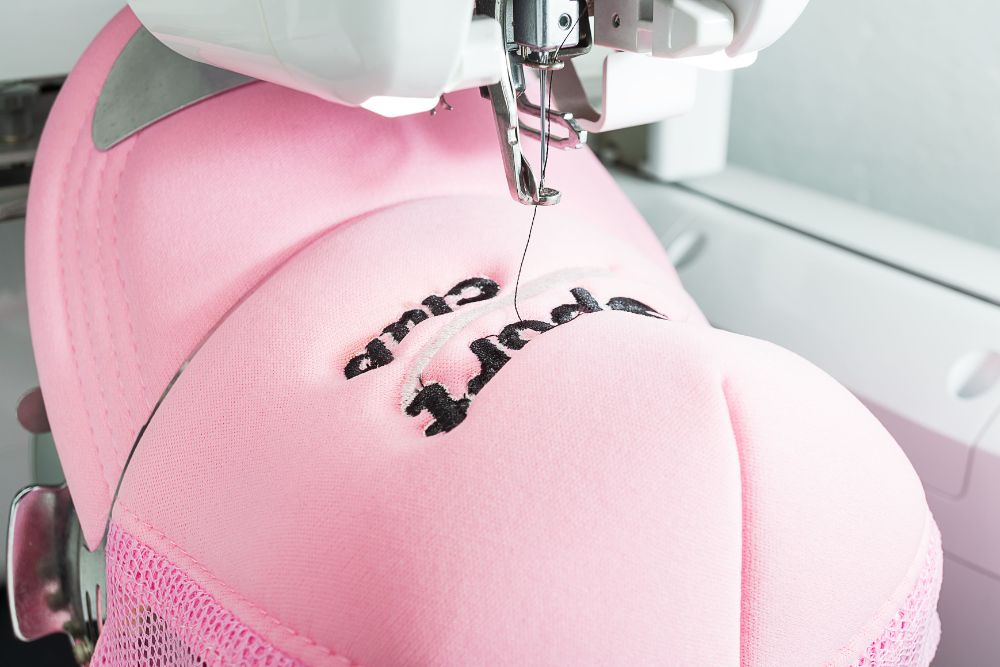
The key to successful hat embroidery lies in selecting the right embroidery machine for hats and caps. A suitable machine should accommodate the curved surface of hats and offer enough flexibility to handle different materials and designs. Look for machines with specialized hat hoops and attachments designed to secure the hat during the embroidery process. These features ensure that the embroidery is precise, consistent, and tailored to the unique shape of hats and caps.
Preparing the Hat for Machine Embroidery
Proper preparation of the hat is crucial for a smooth embroidery process. Start by choosing a stabilizer that complements the fabric of the hat, ensuring it provides enough support for the design. Apply the stabilizer to the inside of the hat, either by ironing it on or using a temporary adhesive spray. This step prevents fabric puckering and ensures a smooth surface for embroidery.
Design Selection and Software Setup
The design selection and software setup phase is where creativity meets technology. Use embroidery software to upload and adjust your design, ensuring it's the appropriate size and orientation for the hat. This is also the time to select colors and stitch patterns. A precise digital preview helps visualize the final product and make necessary adjustments before embroidery begins.
Machine Embroidery Settings for Hats
Adjusting machine embroidery settings specifically for hats is vital. Consider the type of fabric, design complexity, and thread type. Set the correct tension, speed, and stitch density to accommodate the hat’s material and design requirements. Testing on a similar fabric before starting on the actual hat can help fine-tune these settings for optimal results.
Executing the Embroidery Process
Carefully place the hat in the embroidery machine, ensuring it's secure and properly aligned. Start the embroidery process, paying close attention to the machine's operation. Monitor for thread breaks or misalignments, intervening as necessary to correct issues. This careful oversight ensures a high-quality finish.
How to Hoop a Hat for Embroidery?
Hooping a hat for embroidery requires attention to detail. Start by loosening the hoop’s outer ring and placing the stabilizer-backed hat between the hoops. Ensure the area to be embroidered is centered and tight within the hoop but without overstretching the fabric. This setup prevents movement during embroidery, contributing to a precise and clean design.
Finishing Touches and Post-Embroidery Care
After the embroidery is complete, remove any excess stabilizer and trim loose threads for a neat appearance. If water-soluble marking was used, gently remove it according to the product's instructions. These finishing touches and proper post-embroidery care maintain the hat’s quality and extend its lifespan.
Buy4Store Wholesale Embroidered Hats Sale
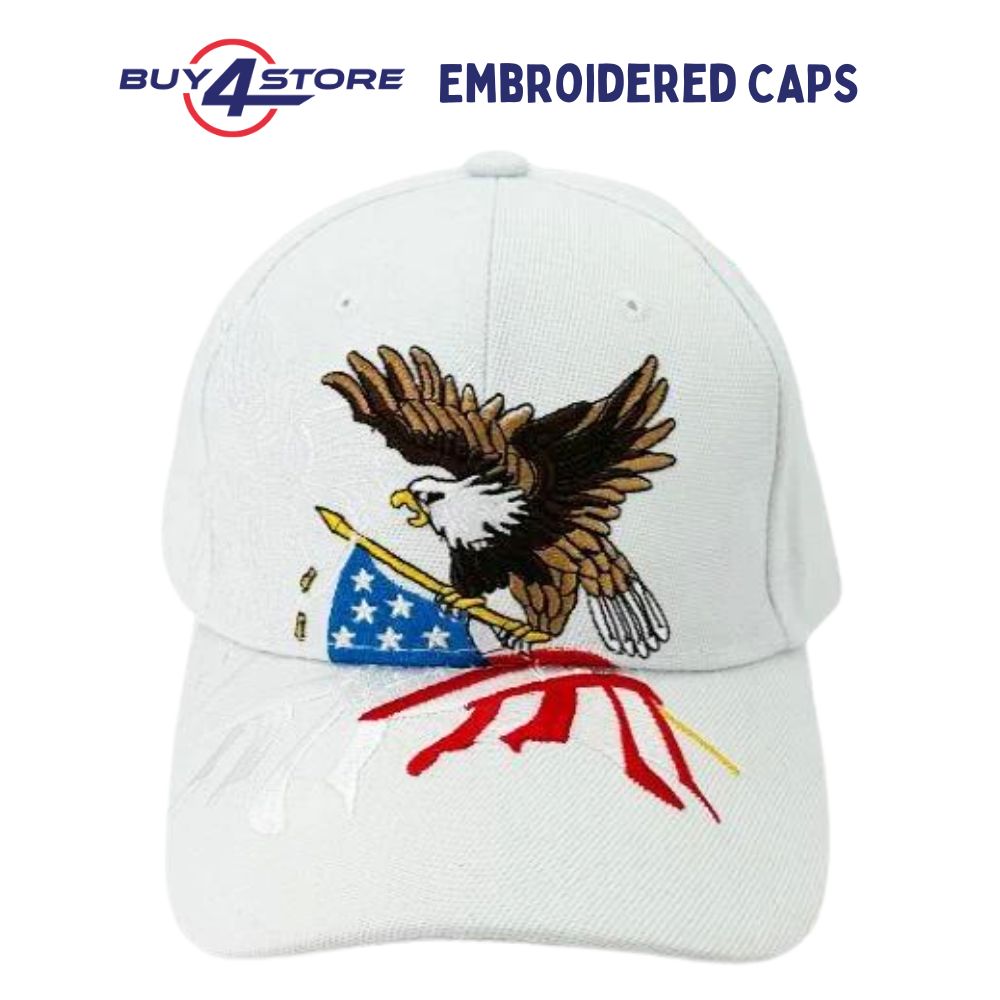
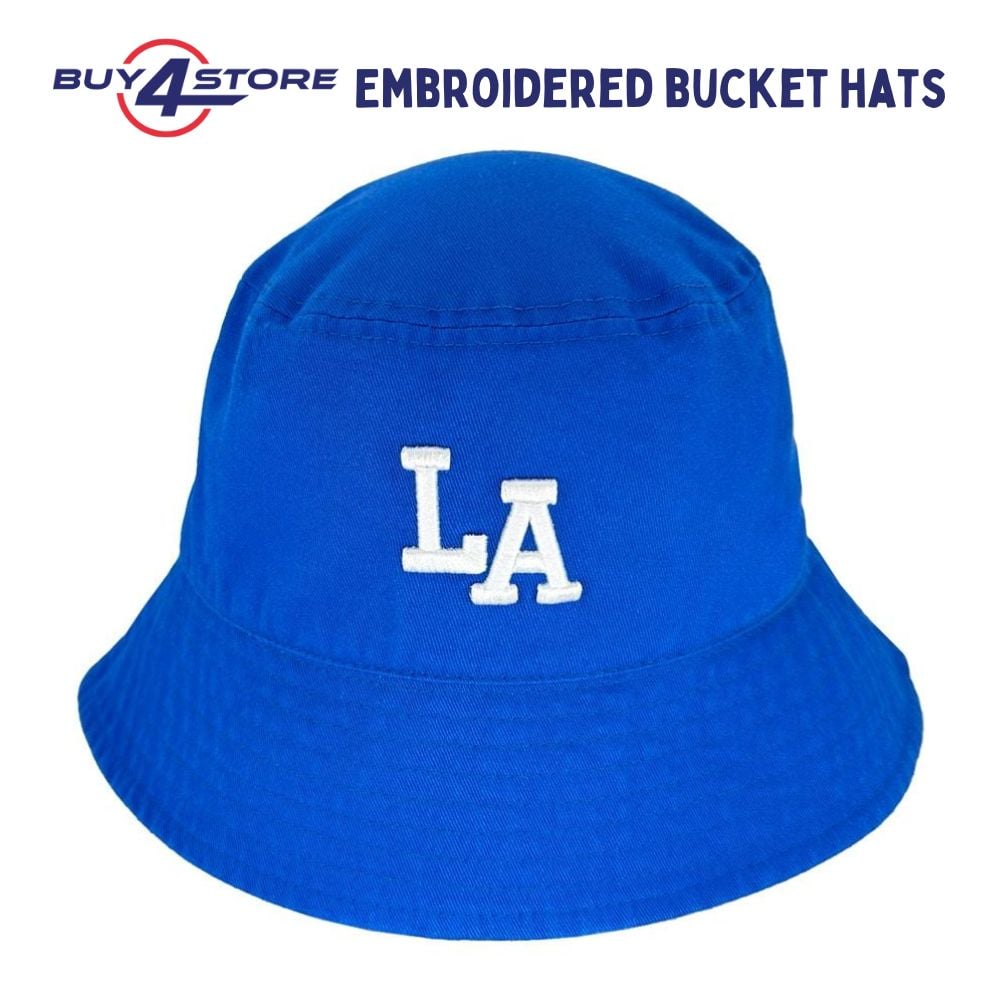
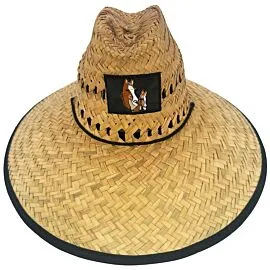
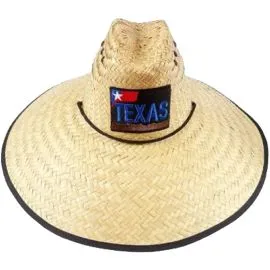
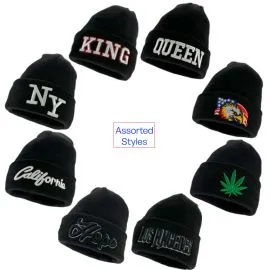
Buy4Store excels in providing wholesale embroidered hats and caps, catering to diverse customization needs. Their collection includes a variety of styles that can be personalized for businesses, sports teams, or promotional events. Buy4Store stands out by offering special orders, allowing customers to request specific designs, ensuring each hat reflects the intended branding or personal style.
For those interested in custom embroidery projects, Buy4Store also supplies hats for embroidery wholesale, offering blank hats and caps in bulk ready for personalization. This selection is ideal for embroidery enthusiasts and businesses looking to apply their unique designs, logos, or text. With a focus on quality and variety, Buy4Store’s wholesale hats options provide a one-stop solution for all embroidery needs, from pre-embroidered hats to blanks ready for your creative touch.










0 Comment(s)