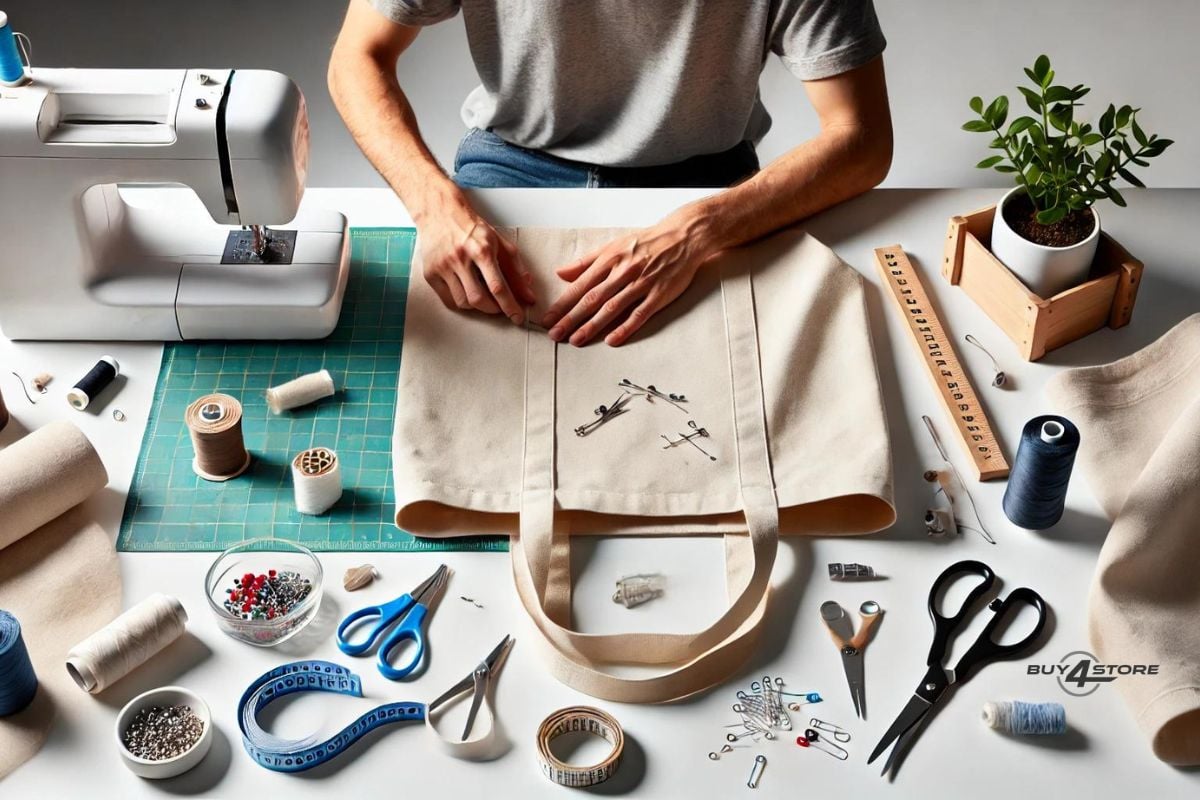
Dive into the DIY tote bag world with these easy steps for making your own reusable tote. From choosing the perfect fabric to attaching sturdy straps, we will take you through all that you need to know to make a tote bag. Get ready to say goodbye to those plastic bags and embark on the pride of making something yourself!
How to make tote bags?
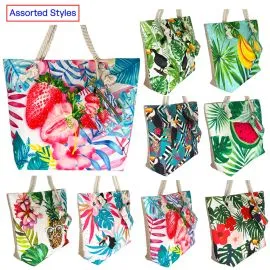
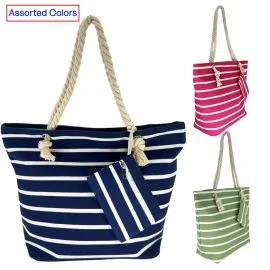
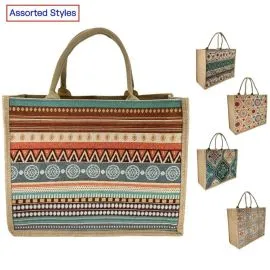
Choosing the Right Fabric for Tote Bags
The type of fabric you choose will impact your tote's durability, weight, and style. Here are some popular options:
A canvas tote bag is a favorite among many people because it is quite strong and very hard-wearing. Quilting cotton is lighter in weight and has a huge range of bright patterns, making it great for everyday totes or project bags.
Denim gives a structured look and a dose of coolness. Mesh is a breathable option—just right for totes or beach bags that require air flow.
Essential Tools and Materials Needed
Here's what you'll need for your tote:
- Fabric: canvas, quilting cotton, denim, or mesh.
- Fabric scissors.
- Sewing machine & thread.
- Pins and clips.
- Ruler (12"+).
Basic Sewing Techniques for Beginners
Don't be daunted if you are a beginner at sewing! This project involves some basic tote bag techniques that you can easily learn, including the following:
Straight stitching: You will need this for a hardy seam joining the pieces of fabric. You'll use it to construct the main body of your tote bag.
Zigzag stitch: This is to complete the raw edges; it will avoid fraying. This will be used in your challenge to prevent your fabric from unraveling.
Hemming: This makes a clean fold at the top of the bag for putting handles.
How to Sew Tote Bag
Step-by-Step Guide to Sewing a Tote Bag
- Measure and slice the main pieces of fabric for the body of the tote bag.
- Assemble Main Body: Stitch together the pieces of fabric, boxing the corners, and turn the bag right side out.
- To make the seam stronger, double-stitch or serge on the seam.
- Put Pockets: The inside and outside of a tote bag can be designed with pockets for organizational functionality.
- Sew handles: Sew tote bag strong handles of combined fabric strips or commercial straps.
Adding Pockets, Handles and Straps to Your Tote Bag
Add pockets to any tote bag by attaching them individually to the lining or internal sections with sewing or rivets. Secure them with a zipper if needed. Also, don’t forget handles or straps: sew or rivet them to the bag’s top edges, and use sturdy webbing or leather with hardware like D-rings or buckles for adjustable straps.
Final Touches and Finishing Tips
To finish off a tote bag, sew the seams, topstitch over the seams for further strength, clip the loose threads, leave space for embellishments such as buttons or patches, attach a personalization label, and make tote bag a quality control check to see if there is anything that needs adjustment.
How to Make a Tote Bag with Lining
Selecting the Best Lining Material
Handbag lining is that layer of fabric or material covering the inner side of a handbag. Cotton, polyester, nylon, suede, and leather are the 5 most common lining materials used for handbags. Each of these lining materials is selected on the basis of parameters like cost, durability, or simply aesthetic preference.
Cutting and Attaching the Lining Fabric
Cut lining pieces to coordinate with your tote bag. If desired, sew pockets onto the lining.
Pin the right sides together, to the top of your sewn tote bag, matching the raw edges. Using a 1/2 inch seam allowance, sew together, leaving a 2-3 inch gap at the bottom lining seam.
Clip the corners of the lining, turn the bag right side out, and iron the top of the lining. Turn in the raw edges, then fold in again and topstitch to close the gap. Tuck in the lining, and voilà! You have a lined tote!
Securing the Lining with Topstitching
After attaching the lining and turning the bag right-side out, topstitch around the top edge. Here's how:
- Fold the raw edge of the lining inward.
- Pin it closed to secure the lining to the bag.
- Sew a straight stitch close to the folded edge to create a clean finish.
How to Make a Zipper Tote Bag
Choosing the Right Zipper for Your Tote Bag
While selecting the zipper for your tote bag, you will have to keep in mind the size and weight of the bag, the purpose of the tote, and the kind of look you intend to achieve.
Metal zippers are used essentially in high-end bags, though the problem with them is corrosion, so they may not be as good as nylon in outdoor use. Nylon zippers are lightweight, corrosion-resistant, and hence the best for outdoors totes.
Preparing the Fabric and Zipper
Cut the zipper stoppers off both ends and remove the zipper pull. Then separate the zipper tapes. Here you need just one side—one 48''–52'' zipper tape—and the zipper pull.
This will leave you with a piece of zipper 48''–50'' long after you're finished. If you can find a long enough zipper with two pulls, you can either use the second pull and the leftover tape for another project, or cut the extra-long piece of zipper in half and put the two pieces together with a zipper pull to make a 24''–25'' long handbag zipper.
Sewing a Zipper to the Bag Body
Sew zipper tape, with the teeth facing the fabric, to the raw edges of the pieces for the bag opening. Use a zipper foot for close stitching, keeping a 1/2 inch seam allowance. Sandwich the zipper between the pieces for the bag body and sew them together. Test the zipper before final stitching.
How to Make a Tote Bag with a Flat Bottom
Creating a Pattern for a Flat Bottom
The tote bag with a flat bottom will need corner sewing to give it that boxy shape. Again, there are two ways of doing this: sewing the corners and then trimming off the extra fabric, or cutting the corners and then stitching them.
One should ideally use heavyweight fabrics like canvas or denim; otherwise, add fusible interfacing to lighter fabrics to create this sturdiness.
Cutting and Shaping the Fabric for the Bottom
Using your pattern, cut out all the fabric pieces of the bag body and handles. Consider these two ways of making it to the bottom:
Bottom Separate Piece: Cut out a rectangular piece in the dimensions of your pattern.
Boxed Corners: Large squares are cut and folded to achieve a defined bottom shape.
Sewing Techniques for a Flat Bottom
- Long Stitch: This will be the basic stitch that joins the bag body parts together to form the sides of your tote.
- Boxed Corners: This requires some extra stitching but gives a nice finish to the work.
- Bottom Attachment: This would be a simple tote bag straight stitch along the sides and the bottom seam or additional steps for boxed corners to have a flat and even bottom and a sturdy base.


0 Comment(s)